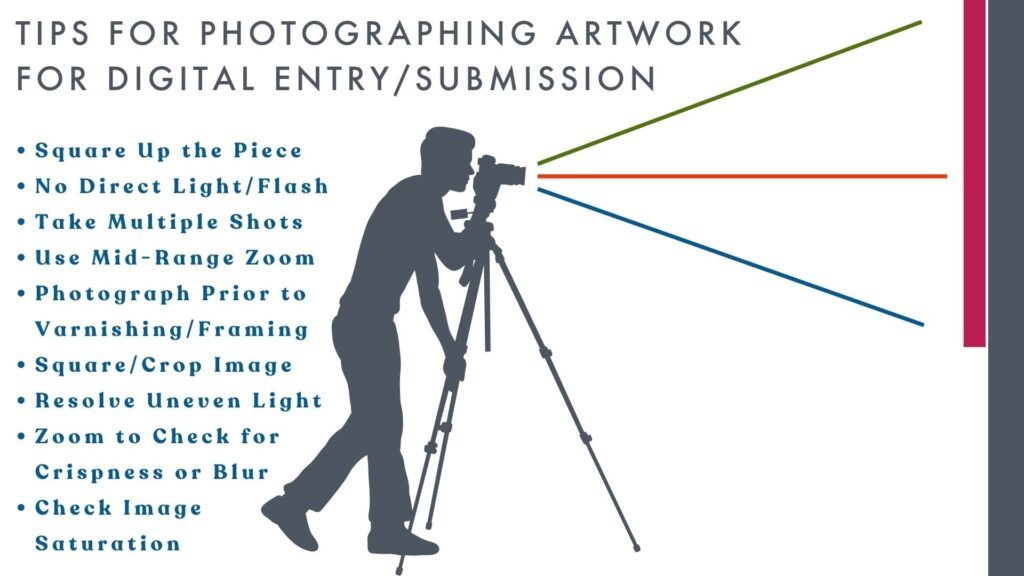
When entering your artwork into a digital call for arts, you want to ensure that you photograph your artwork correctly, so that the jury will see an accurate representation of your art. Here are a few tips to help you get the most our of your artwork photographs.
Square Up the Piece
Make sure that when you photograph your work, you don’t create distortion of the artwork by photographing from an irregular angle. You want your camera to be directly in front of the artwork, and not skewed to any side. Place the camera so the lens is directly in the center of your art.
Ensure that the artwork itself isn’t ’tilted’ or ‘leaning’ against anything when you photograph it. Either lay it directly on the floor, or have it hanging on a wall before you shoot it. Your best option to to use a tripod to ensure no camera shake and blur.
No Direct Lighting or Flash
You’ll want to turn OFF the camera flash in order to avoid getting sharp glares on your digital image. Turn the camera flash off, and use as much indirect light as possible. Natural light in a building from outdoors, through large windows, provides a nice natural lit surface to photograph on. Just as with the camera flash, don’t have direct sunlight hitting your artwork before you photograph. Taking photographs outside on a cloudy day often results in great even lighting across your artwork.
Use a 'Mid-Range' Zoom
Depending on cameras and lenses, some distortion can take place at focal lengths that are all the way ‘in’ or all the way ‘out’. Place the zoom on your camera at a ‘mid level’ range, and then physically move the camera closer or further away from your work to get the artwork to fill the viewfinder and camera sensor.
Photograph Before Framing/Varnishing
While this isn’t requisite, it is sometimes easier to photograph your work before it has been varnished or framed. Varnish can sometimes cause a glossy finish which creates highlight burns when photographing. Some frames can cast shadows onto the artwork causing an uneven distribution of light.
Post Production
Use a digital imaging program to touch up the finished shots before you submit then to their final destinations.
Make sure you:
- Square and crop the photography
- Check for uneven light
- Zoom in and out to check for image crispness or blur
- Check the image saturation
That’s it. With these few simple reminders you should be able to get accurate representations of your artwork via photography.
For the Visual Learners
Here is a link to a quick YouTube video overviewing similar techniques:
http://www.youtube.com/watch?v=Vpj28da03JQ
When your photographs are ready, go to submit.mgal.org from any browser and complete your digital submission. Good luck!


